Clearing Up The Confusion – Drying Times for Levelling Compounds
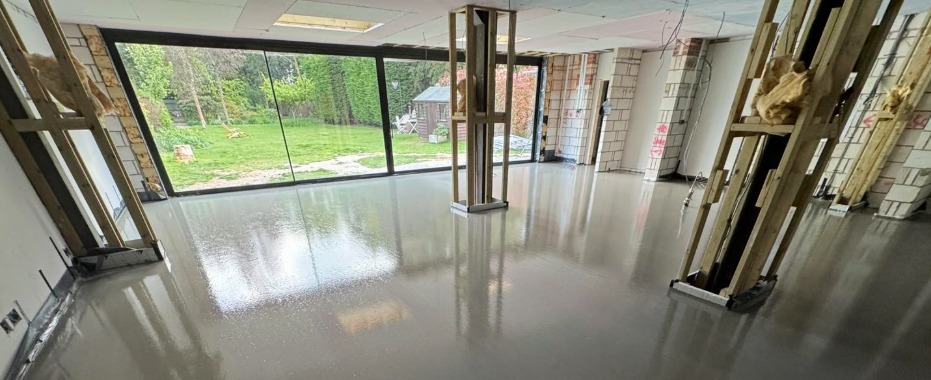
If you’re wondering ‘How long does self-levelling compound take to dry?‘ and feeling unsure about whether it’s the same as self-levelling liquid screed, you’re reading the right blog! This is a question we hear over and over, so our aim here is to stop the confusion.
Generally, compounds are designed for quicker applications and have faster drying times than liquid screeds. We’ll go through the differences between the two, typical drying expectations for compounds, and give you some practical tips for laying a successful, level subfloor.
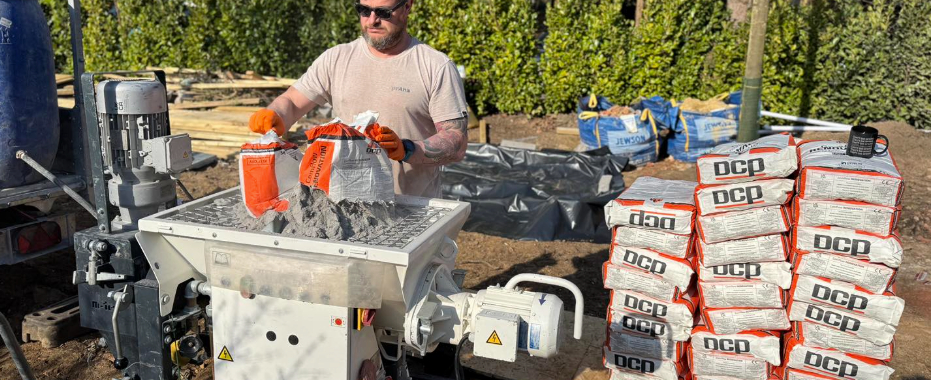
Here at Capital Screeding, we’ve supplied and expertly installed countless orders for both self-levelling compound and liquid screed. Our screeding team has first-hand experience of each product, including their drying times. We know what it takes to achieve that perfect base, and we’ll help you do the same.
Self-Levelling Screed vs. Compound – Your Definitive Guide
So, what’s the actual difference between self-levelling liquid screed and self-levelling compound? It’s the key question, and having the answer can save you time, money, and a lot of confusion.
Self-Levelling Liquid Screed (The Foundation Setter):
- What it’s for – This is what you use for creating a new, level floor surface, especially when dealing with significant irregularities or when you need to build up the floor height. It’s perfect for covering underfloor heating systems or providing a strong base over rough concrete or insulation boards.
- What it’s made of – Usually, it’s a cement-based or calcium sulphate (anhydrite) mixture, combined with graded sands and special polymers that help it flow and level out. Some screeds also contain fibres for added strength.
- Installation Depth – Screeds are applied thicker – generally from around 15-20mm up to 80mm or more for cementitious types, and 25-50mm for anhydrite. It’s about creating substantial new depth.

Self-Levelling Compound (The Perfect Finish):
- What it’s for – You use this for smoothing out minor imperfections on an existing, sound subfloor or over a cured screed. It creates super-smooth, level finish which you’d need for laying LVT, vinyl, or thin tiles. It’s about correction and finishing, not major height changes.
- What it’s made of – Compounds are usually cement-based but are often more heavily polymer-modified. They contain finer aggregates or sometimes just advanced fillers, designed for good adhesion and a smooth flow in thin layers.
- Installation Depth – Compounds are applied much thinner – from a ‘feather edge’ (almost nothing) up to around 5-10mm. Some specialist compounds can go a bit thicker, but their main job isn’t to build significant depth.
Screed builds the level, while compound perfects it. For more detail take a look at our guide: Screed or Self-Levelling Compound?
Timing is Everything – Drying & Curing Self-Levelling Compound Explained
When working with self-levelling compound, everything comes down to timing. Below is what you need to know about how it dries and cures. Please note though, these are guidelines, you should always defer to the instructions on your chosen product’s packaging or technical data sheet.
Workability – Once mixed, you around 20-30 minutes to get the compound down and trowelled smooth before it begins to set. Be prepared to work in an organised way, and in sections if need be.
Foot Traffic Ready – The surface will usually be firm enough for light foot traffic within 2 to 4 hours. This allows for light access but avoid heavy loads.
The Curing – This is the chemical process of hardening and strengthening, which starts as soon as water is added. While it continues for weeks to reach ultimate strength, the practical milestones are about when you can walk on it and when you can lay flooring.
Green Light for Floor Coverings – This is usually reached between 24 and 72 hours after installation for standard compounds laid at a few millimetres thick. Some rapid systems can be ready in as little as 4-6 hours. Always cross-reference with the moisture tolerance of your final floor finish – some materials are extremely sensitive!
Key Environmental Factors That Impact Drying
- Room Temperature – The ideal is 10°C-25°C. Colder slows it, hotter speeds it (and reduces workability time).
- Air Humidity – High humidity means slower drying.
- Ventilation – Moderate airflow helps with drying. You should avoid strong, direct breezes on wet compound.
- Layer Thickness – Thicker applications will need significantly more drying time.
Understanding these timings helps you plan effectively and avoid issues like trapped moisture under your final floor.
Your Next Step to a Perfectly Levelled Floor
We hope that we’ve managed to clear up any confusion about self-levelling compounds, their uses compared to screeds, and the drying times. Having this information is key to achieving a professional finish.
For builders, renovators, and DIYers in London and across the South East looking for a flawless solution, Capital Screeding is here to help. We don’t just supply; we expertly manage the entire floor levelling process from start to finish.
Take the stress out of your subfloor preparation – get in touch with the Capital Screeding team to discuss your project requirements – 020 3369 3396