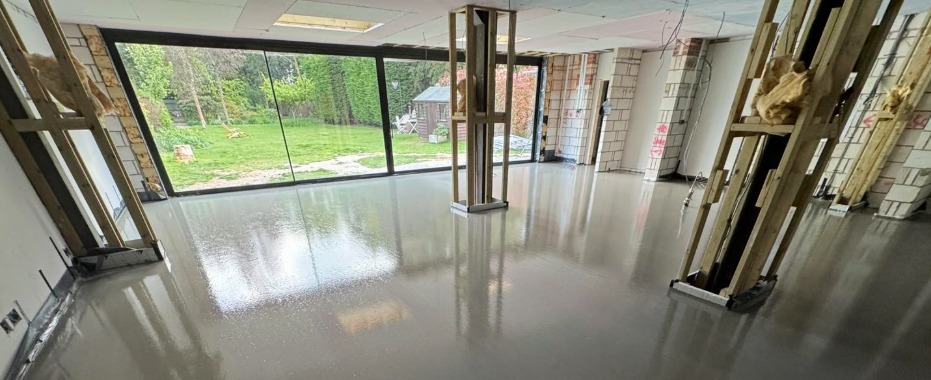
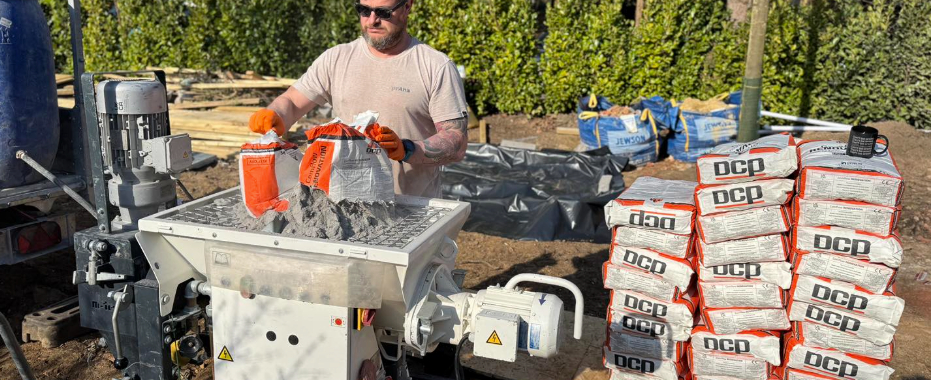
Your Step-by-Step Guide to a Perfectly Level Floor
The secret to a flawless finish for your new wood, tile, or laminate flooring doesn’t start with the flooring itself—it starts with the base. An uneven subfloor is a problem that’s found in homes of all ages, and it’s the number one cause of poor results. This guide provides detailed instructions on how to level a subfloor with self-levelling compound. Our aim is for you to tackle the job with confidence and get it right the first time.
Why trust us? Because levelling subfloors is what our teams at Capital Screeding do every single day across London and the South East. We supply screed, but part of our service is to guarantee perfect floors, thanks to our screeding team. In this guide, we’re delivering our on-the-job expertise directly to you.
Why Self-Levelling Compound is the Right Material for Your Project
If you need to correct an existing uneven floor, self-levelling compound should be your top choice. While traditional screed is used to create the thick, structural slab of a subfloor, it’s not designed for levelling a floor. Self-leveller is. It’s a free-flowing compound that you pour, meaning it naturally finds its own level to create a flawless, glass-like finish.
This makes it the perfect solution for renovators. Use it to fix low spots in a concrete floor, to create a seamless transition between rooms, or to prepare a base for sensitive materials like vinyl that will show every single lump and bump underneath.
A Step-by-Step Guide to Self-Levelling
Achieving a flawlessly level finish means following a professional process. We’re sharing our on-site method with you. The most important rule? Be prepared. Once that compound is mixed, you need to work confidently, quickly, and without hesitation.
1. Subfloor Preparation
You need a surface that is clean, dry, and structurally sound. Begin by sweeping and then vacuuming all dust. Any contaminants like oil, grease, or old adhesive will stop the compound from bonding correctly so it needs to be removed before you start.

If you’re levelling a concrete floor, check for moisture by taping a small square of plastic sheeting to the floor overnight. If there’s condensation in the morning, you may have a damp issue that needs to be dealt with before you pour.
2. Priming the Surface
Priming seals the subfloor and gives you a strong bond. Using a roller, apply the appropriate primer in a thin, even coat across the entire floor, including the edges. Allow it to dry fully according to the product’s data sheet.
If you’re dealing with porous or dusty concrete, apply a second coat of primer. It’s a small step that stops pinholes from forming and ensures that the compound cures without losing its water too quickly.
3. Mixing the Compound
This stage is time sensitive. Use a clean mixing bucket and a power drill with a paddle attachment. Always add the powder to the pre-measured water, never the other way around. This prevents dry clumps from getting stuck at the bottom and ensures a consistent, lump-free mix every time. Only mix one bag at a time unless you have a team.
4. Application and Spreading
Pour the mixed compound immediately, working from the back of the room towards the door. Pour in continuous ribbons to help the product merge seamlessly into a single, level surface.
Don’t overwork the compound with a trowel. It’s designed to find its own level. Your job is simply to guide it to the edges and ensure an even thickness. A spiked roller will do the rest.
5. Curing and Finishing
Once poured and smoothed, the floor needs to cure without disturbance. Check the product details for walk-on time and the time required before you can install floor coverings, as they differ.
Avoid draughts or direct sunlight on the curing floor, as this can cause it to dry too quickly and crack. Keep the room at a stable temperature and the doors closed.
For more pro tips on pouring levelling compound, see our guide: 10 Tips For Using Rapid Setting Levelling Compounds
Frequently Asked Questions (FAQs)
Even with a detailed guide, specific questions can arise depending on your project. Here are the direct answers to some of the most common queries we get.
Most self-levelling compounds are designed for a maximum thickness of around 15mm. For deeper sections, you’ll need to use a specific deep-fill or renovation screed product. Never exceed the stated maximum thickness on the bag, as this will compromise the product’s strength and can lead to cracking.
Yes, in fact we would recommend it as the industry standard for fully encapsulating water-based underfloor heating pipes. The correct procedure is as follows: the pipework should be filled and pressure-tested for leaks before pouring. After pouring, the compound must be allowed to cure completely. The heating system is only commissioned (turned on slowly) after this full curing period is complete.
Yes, provided the existing tiles are solid and well-bonded. You cannot use a standard primer for this. You must use a specialist adhesion primer designed for non-porous surfaces. For best results, the tile surface should be scuffed with a sander first to create a mechanical key for the primer to grip onto.
“Walk-on time” is not the same as “cover-on time.” While a floor may be walkable in 3-4 hours, it is still curing and releasing moisture. For impervious coverings like tile or vinyl, you should wait a minimum of 24 hours. For moisture-sensitive floors like wood or laminate, you must wait until the compound is completely dry, which can take several days depending on thickness and conditions.
Now You’re Ready for the Final Floor
And there you have it. You should have a perfectly flat, smooth surface that will form the perfect base for your new flooring and perform perfectly for years to come.
If you have questions or need top quality materials for your project, our friendly team is here to help. Or, if you’ve decided you’d prefer to leave it to the pros, get in touch for a free, no-obligation quote – 020 3369 3396